5 Ways to Use Kitchen Scraps for Your Garden, Health & Home
Stop throwing money and nutrients straight into the trash by turning your kitchen scraps into practical resources. This guide shares five easy options to harness that waste into something you can use again.
Miss Z
6/12/2026
Whether you’re on a budget, trying to reduce waste, or just frugal and conscious of what you have before you, your food scraps can actually be more useful than you might think! Using food scraps can save you money, add nutrition to your cooking, provide you with non-toxic material needed for cleaning, and strengthen your plants. So before you throw out those green onion or parsley stems, lemon peels, eggshells, or banana peels, check out some great ideas of what to do with them to enrich your surroundings.
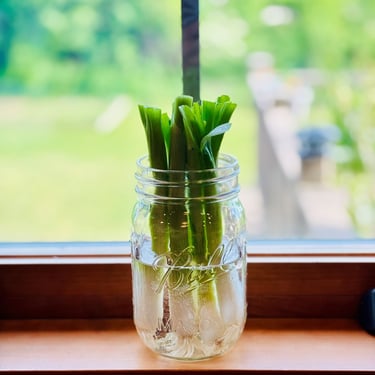
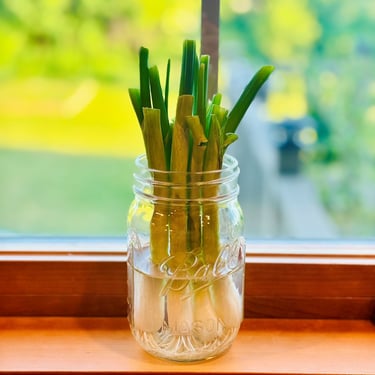
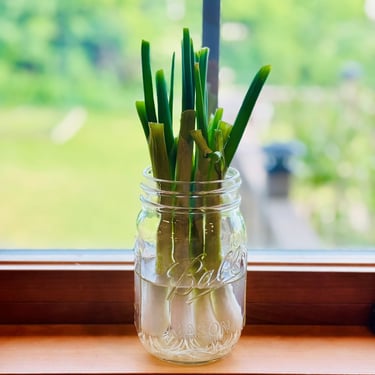
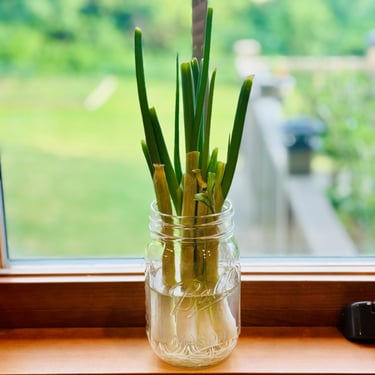
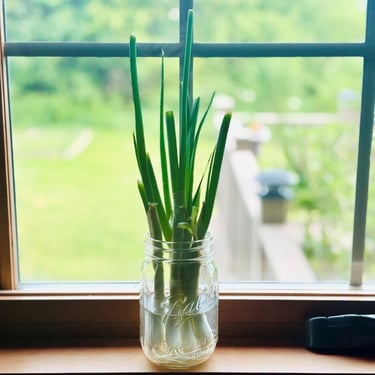
1. Regrow More Food
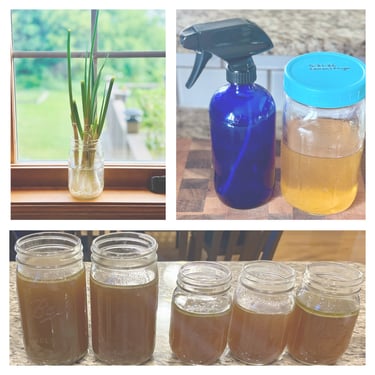
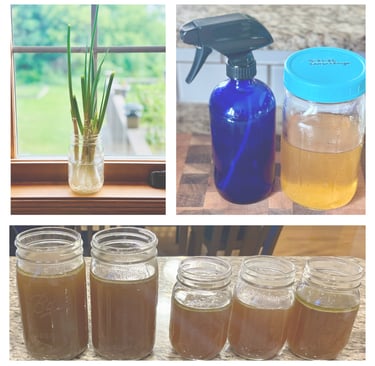
You may have heard of propagating stems from basil, roses, tomatoes, etc. to make new plants, but that takes months to get a whole new plant growing and producing food or flowers. But how about using scraps to regrow more food in just one week? Well, you can easily do that with green onions. Simply save the white part of the green onion, put it in a glass of water, and set it on a windowsill. I like to use a pretty mason jar or vase to make it look attractive sitting there. Within 7-10 days, you’ll grow an entire new bunch of green onions to use for cooking or salads. It’s a great way to save money and have more food readily available!
This post contains affiliate links, which means I may receive a commission, at no extra cost to you, if you make a purchase through a link.

2. Make a Nutritious Bone Broth
A good bone broth is typically made from scraps - extra beef or chicken bones and extra vegetable scraps. With this in mind, last summer, I decided to make my own bone broth freezer bag. Basically, as I harvested my various vegetables from my garden and processed them for meals or preserving, I would set aside the clean scraps into a freezer bag for winter use. Here are some examples of the scraps I saved together:
Parsley stems
Garlic and onions peels
Carrot tops
Celery leaves
Zucchini ends
Swiss chard stems
Extra portions of thyme and rosemary
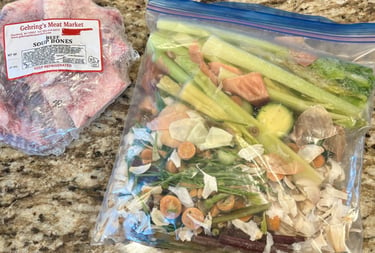
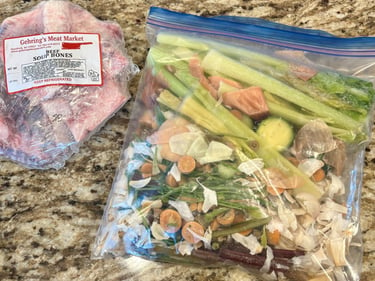
Therefore, as the summer passes, just keep adding to the freezer bag depending on what you are harvesting. If you aren’t growing your own garden, you could still do this, however, I would just only save organic produce scraps though. Here are some simple steps to make your own bone broth:
Get your bones for your broth from your local butcher or farmer. In a crock pot, combine your bones with your freezer bag of veggie scraps. (You can cook on a stove, though there are precautions that you will want to research if leaving the stove on overnight.)
Add water to cover to your desired height, keeping in mind that water will evaporate as it simmers.
Before turning on the crockpot, add 1-2 tablespoons of apple cider vinegar and let it sit for 20-30 minutes before heating. The apple cider vinegar will help draw out valuable collagen and minerals from the bones while breaking down the connective tissue to create the extra nutritious broth.
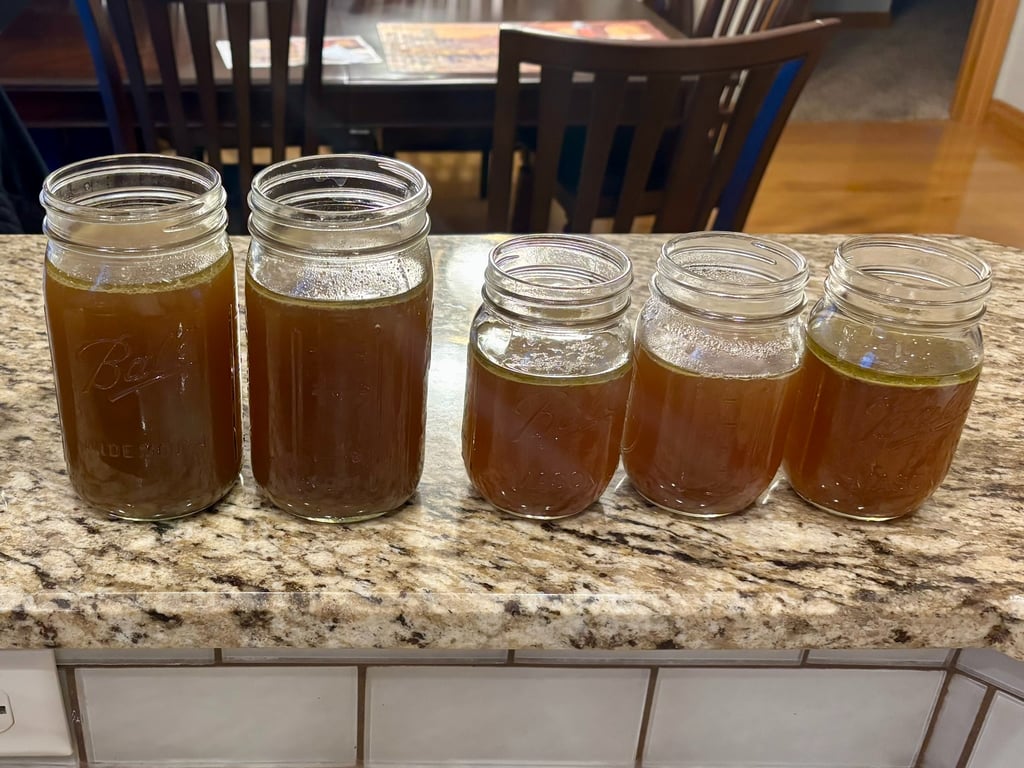
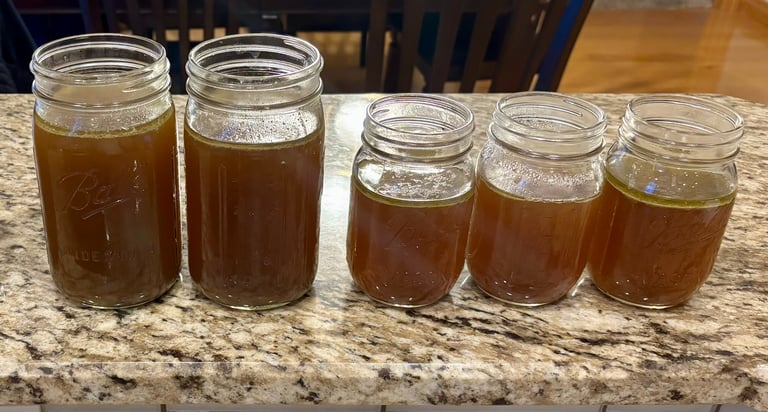
Simmer chicken bones for 6-24 hours; beef bones for 12-48 hours. I simmered my beef bone broth for 30 hours, and it turned out wonderful!
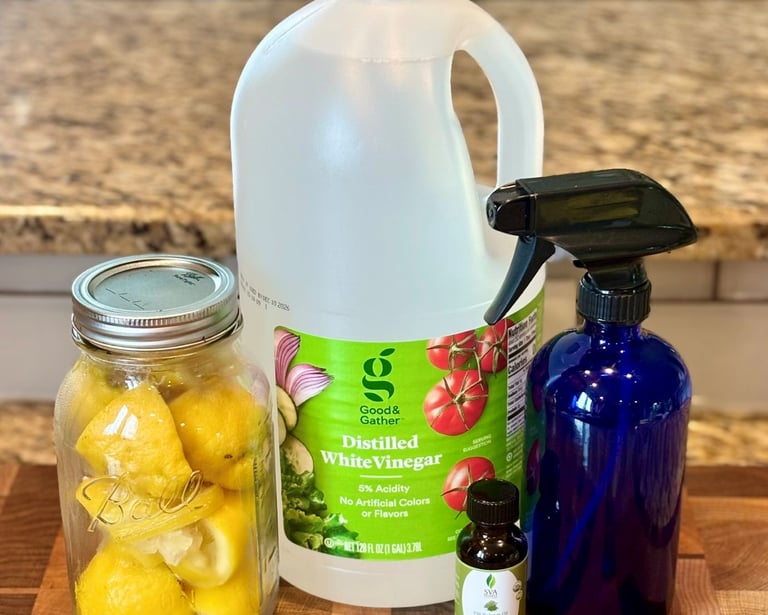
3. Use Lemon Peels to Make Your Own House Cleaner
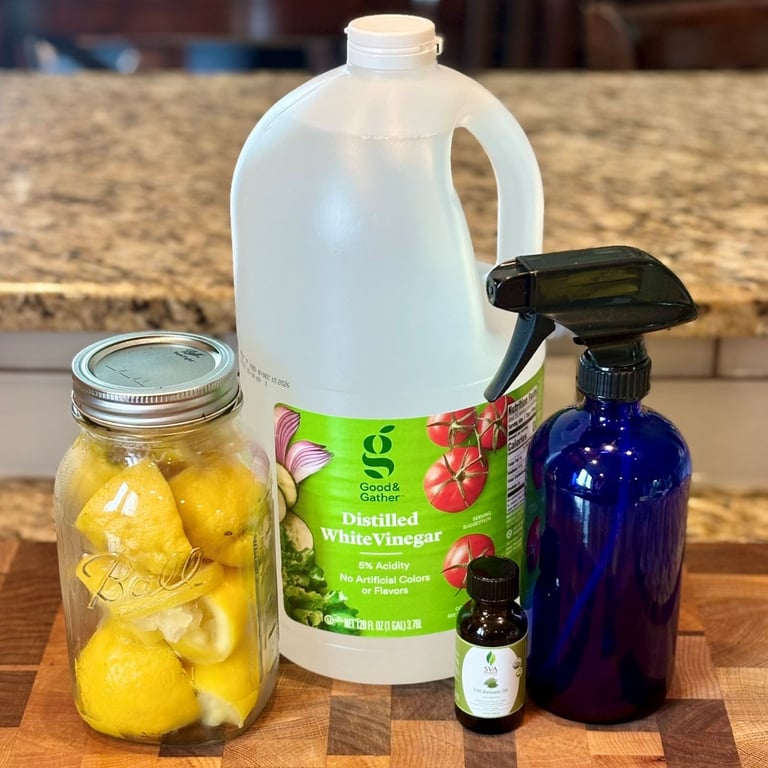
If you’re like me, then you may be trying to find ways to eliminate or minimize the toxic cleaning products from your home. Fortunately, there are more gentle options showing up on the market these days, but you can also make your own lemon vinegar cleaner with any lemon scraps you have. Not only is this incredibly affordable and non-toxic, but the combination of the acetic acid from the vinegar and the natural oils from the lemons will cut through grease and dissolve soap scum while leaving behind a fresh clean scent.
Quick note though before you pursue making this, while it is great for wiping down kitchen or bathroom counters, because of the acidity level in it, you would not want to use it on delicate stone like granite or marble or unsealed floors and furniture. It is still excellent for other surface types such as cutting boards, stove tops, sinks, windows, microwaves, etc. Here’s how to make it:
Collect your lemon carcasses (adding some limes will work too) in a glass mason jar in the fridge until the jar is full. You would want to fill it within a week though so the scraps don’t start to mold.
Once the jar is full, top it with normal distilled white vinegar and seal the jar with a plastic lid. You will want to use plastic lids since vinegar is highly acidic. Here’s the lids that I buy and use. (Check Amazon)
Let the mixture sit on your counter for 2 weeks. Give it a gentle flip/shake each day to make sure the lemons on the top get coated in vinegar daily.
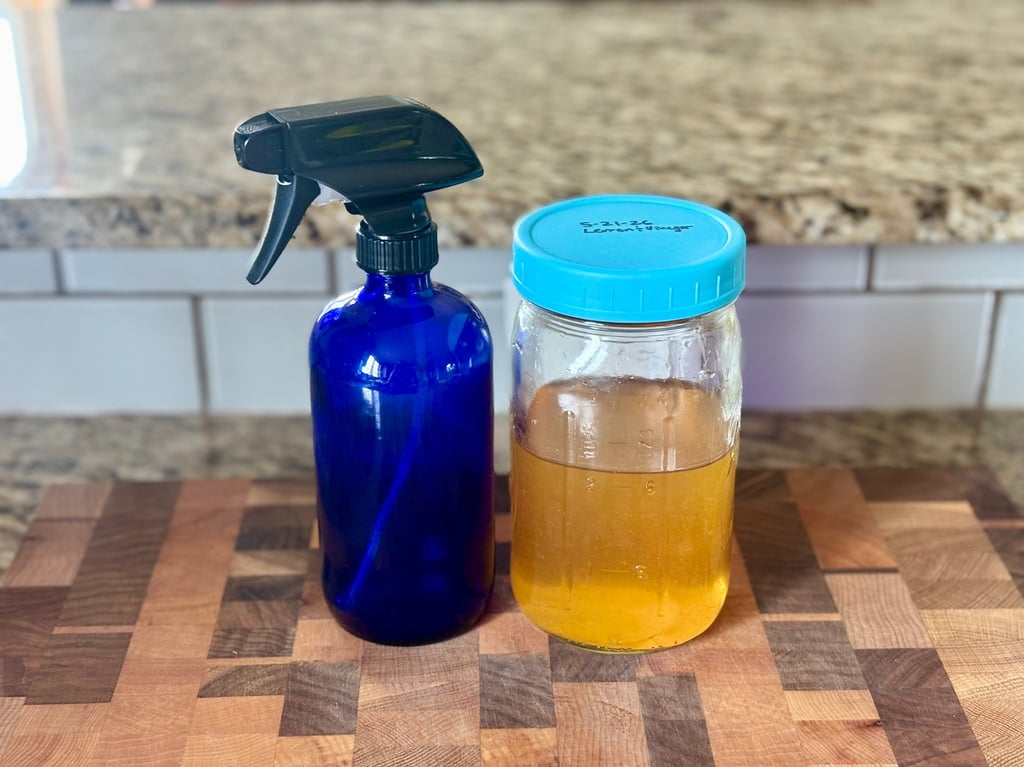
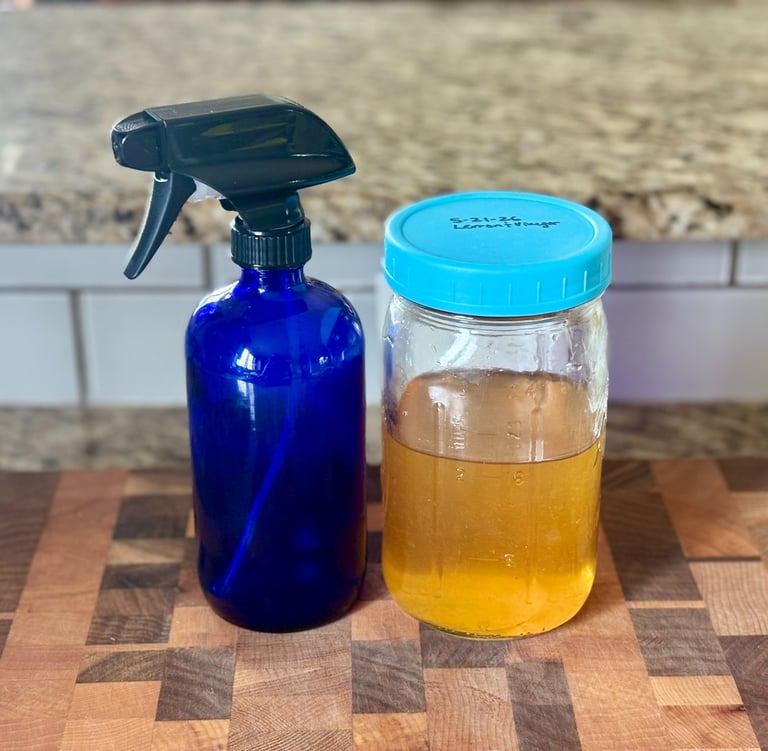
Strain the infused vinegar out when it is done. I even give the lemon carcasses an extra hand-squeeze since they will have absorbed some of the liquid. You will want to dilute it with some filtered water in the glass jar or spray bottle you put it in. I do a 1:1 ratio; I fill my spray bottle half way with the lemon vinegar cleaner and half way with filtered water. These glass spray bottles have lasted for years for me for this exact cleaning mixture. (Check Amazon)
Finally, optional, but consider adding in a few drops of fir balsam essential oil. Not only does its pine aroma nicely pair with the lemon scent and help in overall deodorizing, but it has antiseptic and anti-fungal properties, helping to disinfect while cutting through the grime. (Check Amazon)
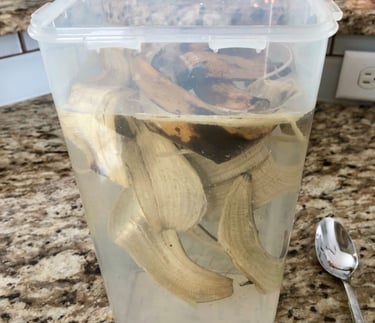
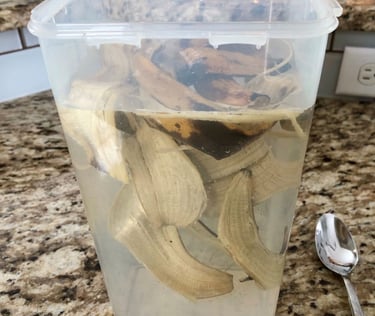
4. Banana and Potato Peels to Make a Fertilizer Tea for Plants
Both bananas and potatoes are very rich in potassium, magnesium, calcium, and phosphorus, which is not only great for humans, but for plants too! Plants need these minerals to assist them with water regulation, energy production, crop and fruit quality, and disease resistance. So instead of throwing these peels in the trash, here’s how to harness them to make a fertilizer tea for your plants. Simply soak the peels in water for 24-48 hours. Then strain out the water around your desired plant or into its pot, and throw out or compost the peels. Super simple. And I’ll be honest here, there are times that I do not soak them for that full 24-48 hour stretch, depending on what I have going on. Sometimes, I may only soak them for 12 hours, so no doubt, I’m not infusing the water with as many essential minerals as I would like, but I also figure that even pulling a little bit out of these peels into the water for my plants is better than just plain water. It’s all about making some of these tips fit your lifestyle, and not adjusting your lifestyle to manage these tips.
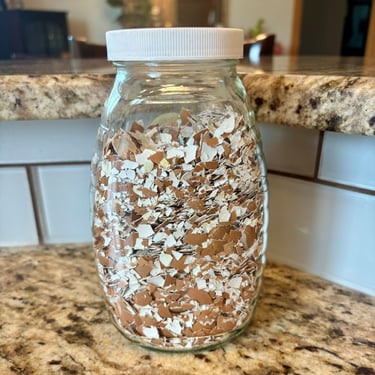
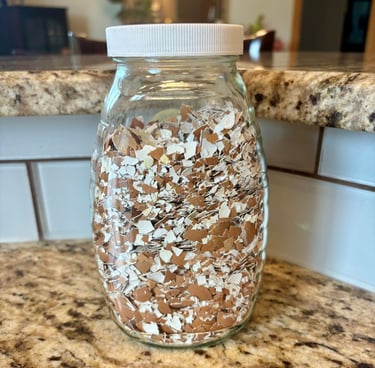
5. Eggshells for Plants: Provide Nutrients and Pest Protection
Eggshells are an excellent natural source of calcium and trace minerals for plants like tomatoes, peppers, zucchini, cucumbers, strawberries and roses. So after you make those scrambled eggs, just rinse the shells out and set them on the side to dry. Let them dry completely (about 24 hours) and then add to a jar for later. As I add my shells to a jar, I like to shake it around like a martini shaker to break the shells down into smaller pieces. While the shells are a rich source of nutrients for the plants, the larger the pieces are, the longer they will take to break down into the soil to feed the plant. Since they decompose rather slowly, if you want faster results, be sure to grind them into a fine powder. I personally leave mine the size of the picture, knowing they will continue over the years to break down and feed the soil.
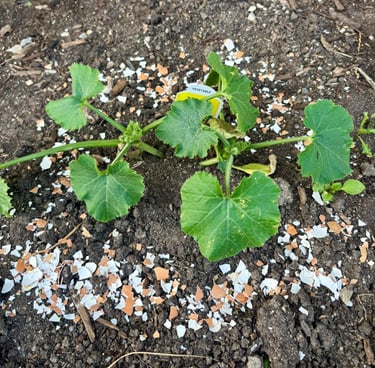
Note that if you are going to grind them up, I’d suggest setting some larger pieces aside if you’ve had any issues with slugs or snails in the past. By spreading the coarse piece around the stem of the plant, their sharp edges will help to deter the slimy bugs from crawling over them to get to the plant. Just be sure to reapply more after a few rainstorms for best results.

So there’s five great ways to use your scraps! There are dozens more ways to use scraps, and maybe at some point I’ll do a part two to this blog, but I always like to start with the simple, easily attainable ones first, and not overwhelm a reader with 30 tips right out of the gate. Hope this helps to save some money, support your health, and make your plants thrive!
HealthyRootz
Disclaimer: This site contains Amazon affiliate links, which means I may receive a commission, at no extra cost to you, if you make a purchase through a link.
Follow On