Fermented Dill and Garlic Carrots
Crisp, tangy, and packed with gut-healthy probiotics! Learn how to make easy fermented dill and garlic carrots with this simple, beginner-friendly recipe.
Miss Krysten
7/24/2026
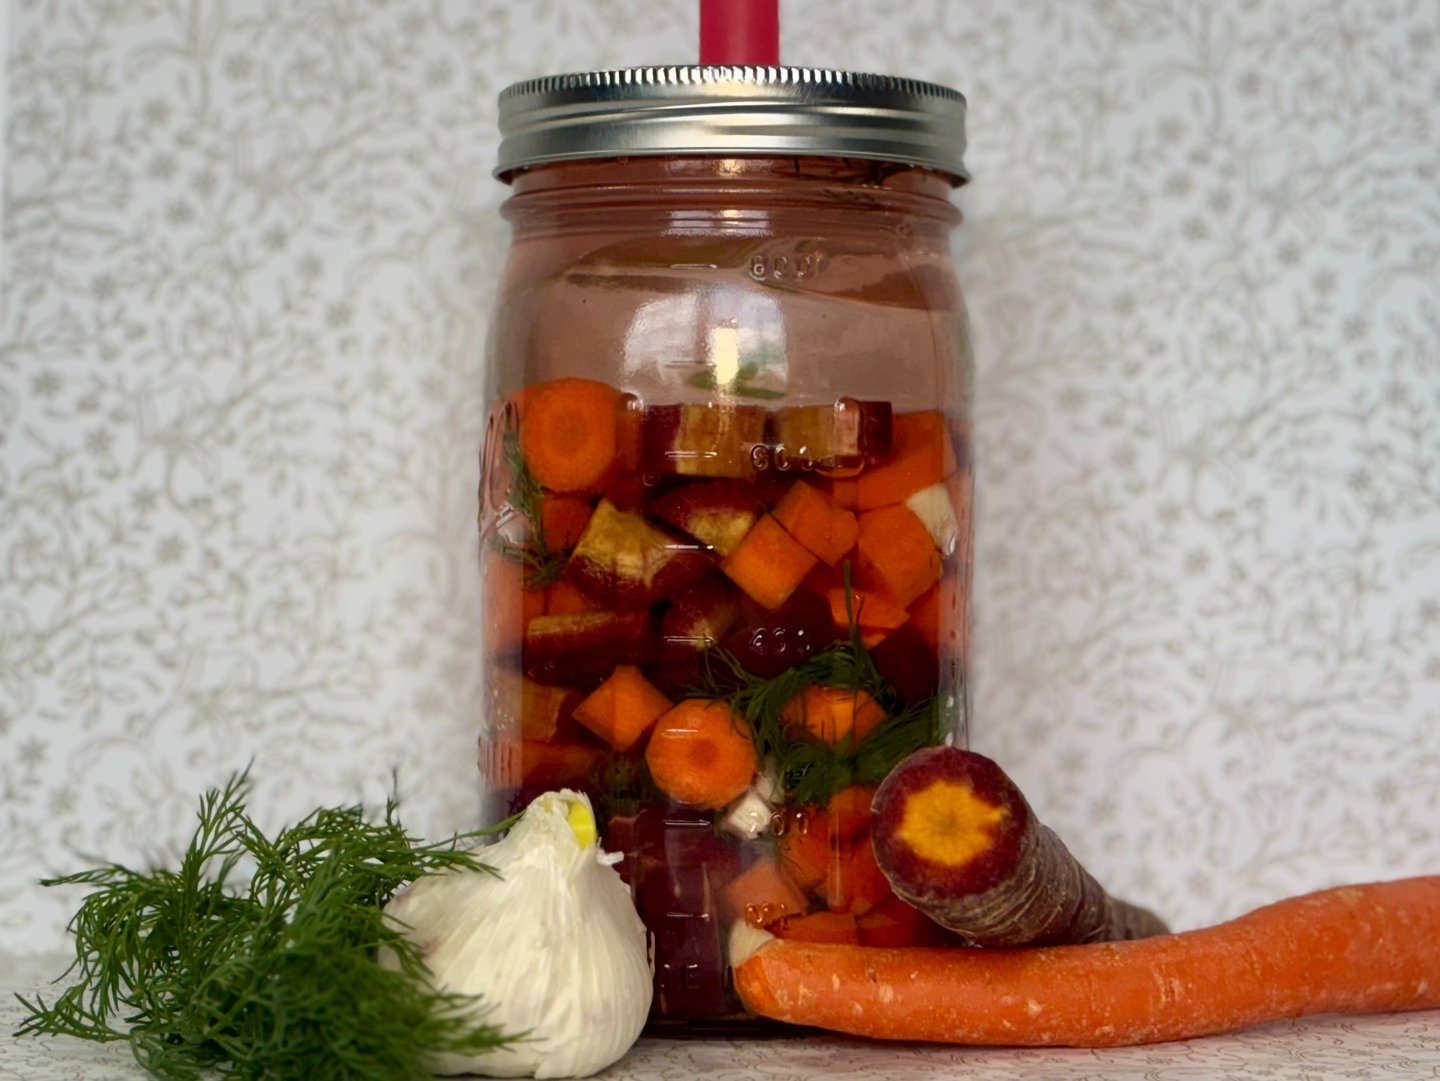
If you've been wanting to learn how to ferment carrots at home, this is one of the easiest and most rewarding recipes to start with. These fermented dill and garlic carrots are crunchy, tangy, packed with fresh flavor, and full of naturally occurring probiotics that support a healthy gut.
Whether you're new to fermentation or have been making homemade ferments for years, this simple recipe uses just a handful of wholesome ingredients and requires very little hands-on work. The beneficial bacteria do all the magic for you!
Check out my YouTube video to watch the demo of how to make this delicious snack! Or continue reading below...
This post contains affiliate links, which means I may receive a commission, at no extra cost to you, if you make a purchase through a link.
Prep Time: 15 mins | Ferment Time: 10-14 Days | Makes: 1 Quart
Equipment
Quart-sized glass jars
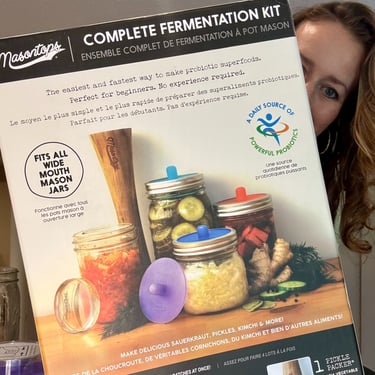
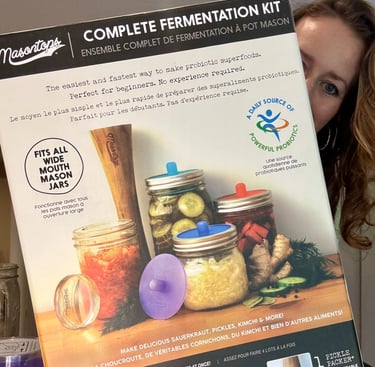
Complete Fermentation Kit (Check Amazon) which includes:
Pickle pipe or airlock lid (or a regular canning lid)
Fermentation weight
Wooden pickle packer (or spoon)
Tea kettle & large glass/pyrex dish. Used to sanitize the jars. Feel free to use your own method, if you prefer.
Fermented Dill & Garlic Carrots
Steps
Sanitize Your Equipment: Place your clean jars, lids, fermentation weights, pickle pipes, and end of the pickle packer into a large Pyrex dish. Carefully pour boiling water from a tea kettle over the jars until they're covered. Flip each jar over in the hot water to sanitize both the inside and rim (use a towel - jars are hot!). Or sanitize according to the methods you are familiar with.
Make the Salt Brine: One full pint of brine is typically enough to fill one quart jar packed with carrots
Using a clean sanitized pint jar, combine:
1 pint filtered water
4 teaspoons Redmond's Fine Sea Salt
Stir or shake until the salt is completely dissolved
Fill the Jar
Layer your ingredients into the quart jar:
Fresh dill
Chopped garlic
Carrots
Use the wooden pickle packer to continually and firmly press and pack the ingredients down.
Continue layering until the jar is nearly full. Finish with a layer of carrots on top. This helps keep the smaller pieces of dill and garlic from floating to the surface.
Leave approximately 1½ inches of headspace at the top of the jar.
Add the Salt Water Brine
Pour the prepared salt brine over the carrots until everything is completely submerged.
Place a fermentation weight on top to keep all of the vegetables below the brine.
**Note: This is one of the most important steps for a successful ferment. Vegetables exposed to air are much more likely to develop mold.
Ferment
Seal the jar with a pickle pipe and canning ring or just a regular jar lid
Store the jar out of direct sunlight at room temperature
If you're using a regular canning lid instead of the pickle pipe, tighten it securely and burp the jar once each day by slightly loosening the lid just enough to release the built-up gas. You'll hear a small "whoosh." Tighten the lid again immediately. Do not fully open the lid - you want to just let air out, but not let air in.
Allow the carrots to ferment for:
10–14 days under normal room temperatures. 10 days for a mild crunch and tangy/sour taste; up to 14 days or longer for a stronger tang/sour flavor. Begin checking around Day 8 if you keep your house warm/without air conditioning during very warm summer weather.
Taste the carrots when you think they're ready. The longer they ferment, the tangier they'll become.
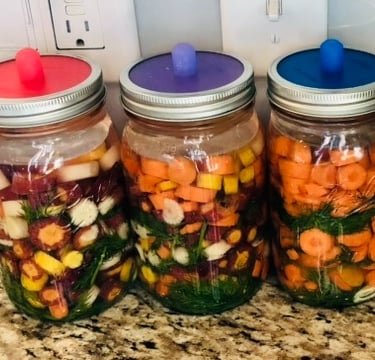
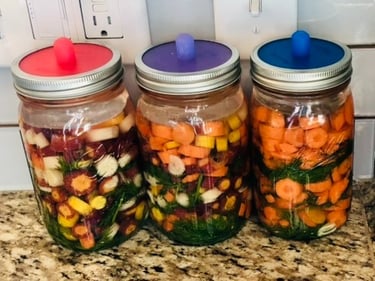
How Do You Know They're Ready?
Your carrots should be slightly tangy, still crunchy, pleasantly sour, and smell fresh and fermented (not rotten).
Every home is a little different, so fermentation times can vary depending on room temperature.
Frequently Asked Questions
What Is the White Stuff in My Ferment?
One of the most common questions people ask is: "Is the white stuff in my jar safe?" The answer is usually yes!
A white, cloudy appearance in the brine or a thin white film on the surface is often caused by beneficial fermentation byproducts or kahm yeast. Kahm yeast is generally harmless, although it can affect the flavor if left too long. It often appears as a thin, flat, white film on top of the brine.
Cloudy brine is also completely normal. In fact, it's usually a sign that fermentation is actively happening. However, if you notice fuzzy mold, pink, blue, black, or green growth, a rotten or putrid smell, then it's safest to discard the batch and start fresh.
Keeping all vegetables submerged beneath the brine greatly reduces the chance of mold developing.
How Long Do Fermented Carrots Last?
Properly fermented carrots generally stay fresh for 6-12 months in the refrigerator, and many people find they keep even longer if they remain submerged in the brine and are handled with clean utensils. Over time, they may slowly soften and become more sour, but they are often still perfectly good to eat. Always discard any ferment that develops mold, an unpleasant rotten odor, or obvious signs of spoilage.
Can I use baby carrots?
Fresh whole organic carrots generally produce the best flavor and texture. Many packaged baby carrots have been processed and may not ferment quite as well.
Can I add other spices?
Absolutely! Peppercorns, mustard seed, coriander, red pepper flakes, bay leaves, or fresh ginger all make delicious additions.
Why are my carrots bubbling?
Bubbles are a great sign! They indicate that the beneficial bacteria are actively producing carbon dioxide as they ferment.
Can I eat the garlic and dill too?
Yes! The garlic becomes wonderfully mellow, and the dill adds incredible flavor to the entire ferment.
Final Thoughts
Making homemade fermented carrots is one of the simplest ways to enjoy traditional, probiotic-rich foods right from your own kitchen. With just carrots, garlic, dill, salt, and water, you can create a delicious ferment that's full of flavor, naturally preserved, and easy to keep on hand for months.
Whether you enjoy them as a healthy snack, on a charcuterie board, alongside sandwiches, or chopped into salads, these crunchy fermented dill and garlic carrots are a recipe you'll find yourself making again and again.
May you, your family and friends enjoy this dill, garlic and carrot ferment recipe! Happy fermenting!
Why Make Fermented Carrots?
Fermenting vegetables is one of the oldest methods of food preservation. Before refrigerators existed, people relied on fermentation to safely preserve vegetables while actually increasing their nutritional value.
During lacto-fermentation, naturally occurring beneficial bacteria consume the sugars found in the vegetables and produce lactic acid. This acidic environment helps preserve the carrots while giving them their delicious tangy flavor.
Many people enjoy fermented foods because they:

How Much Should You Eat?
If you are new to fermented foods, I will advise not to eat too much at once to start! Even though they are good for your digestive system, since fermented foods contain both live bacteria and organic acids, your body may still need time to adjust to them. If you're not used to eating fermented foods regularly, eating a large serving all at once can cause temporary bloating, gas, or stomach cramps. Again, this doesn't necessarily mean the food is bad or that your body "can't handle probiotics." More often, it's simply your digestive tract adapting to a change in your diet.
I’d recommend to start with just 1–2 tablespoons per day and gradually increase your serving over time. This gives your digestive system a chance to adjust to the beneficial bacteria. Most people enjoy about ¼ to ½ cup of fermented vegetables as a serving, but listen to your body and eat the amount that feels best for you. With fermented carrots, I personally started with just 4-5 carrot chunks in the beginning before I could enjoy more at once.
So let’s dive into making them! First of all, aside from the food ingredients, you’ll need a few kitchen items for this:
Support a healthy digestive system
Provide beneficial bacteria (probiotics)
May help support immune health
Can improve the digestibility of vegetables
Add wonderful flavor and crunch to meals
Naturally preserve fresh vegetables without vinegar or canning
Ingredients
Organic carrots, chopped into smaller chunks. Enough to fill a quart jar.
Organic dill (the flowers are wonderful to use too!)
Organic garlic, chopped into chunks (5-6cloves per quart jar)
Filtered water
Redmond's fine sea salt: 4 teaspoons per pint of filtered water (Check Amazon)
HealthyRootz
Disclaimer: This site contains Amazon affiliate links, which means I may receive a commission, at no extra cost to you, if you make a purchase through a link.
Follow On